If you’re looking to set up a new calendar on Ubico to manage your meetings and events, you’ve come to the right place. I’m here to walk you through each step so you can have your calendar ready in no time.
Let’s get started.
Hop onto the Ubico homepage and get to the overview page. This is where all the magic begins.
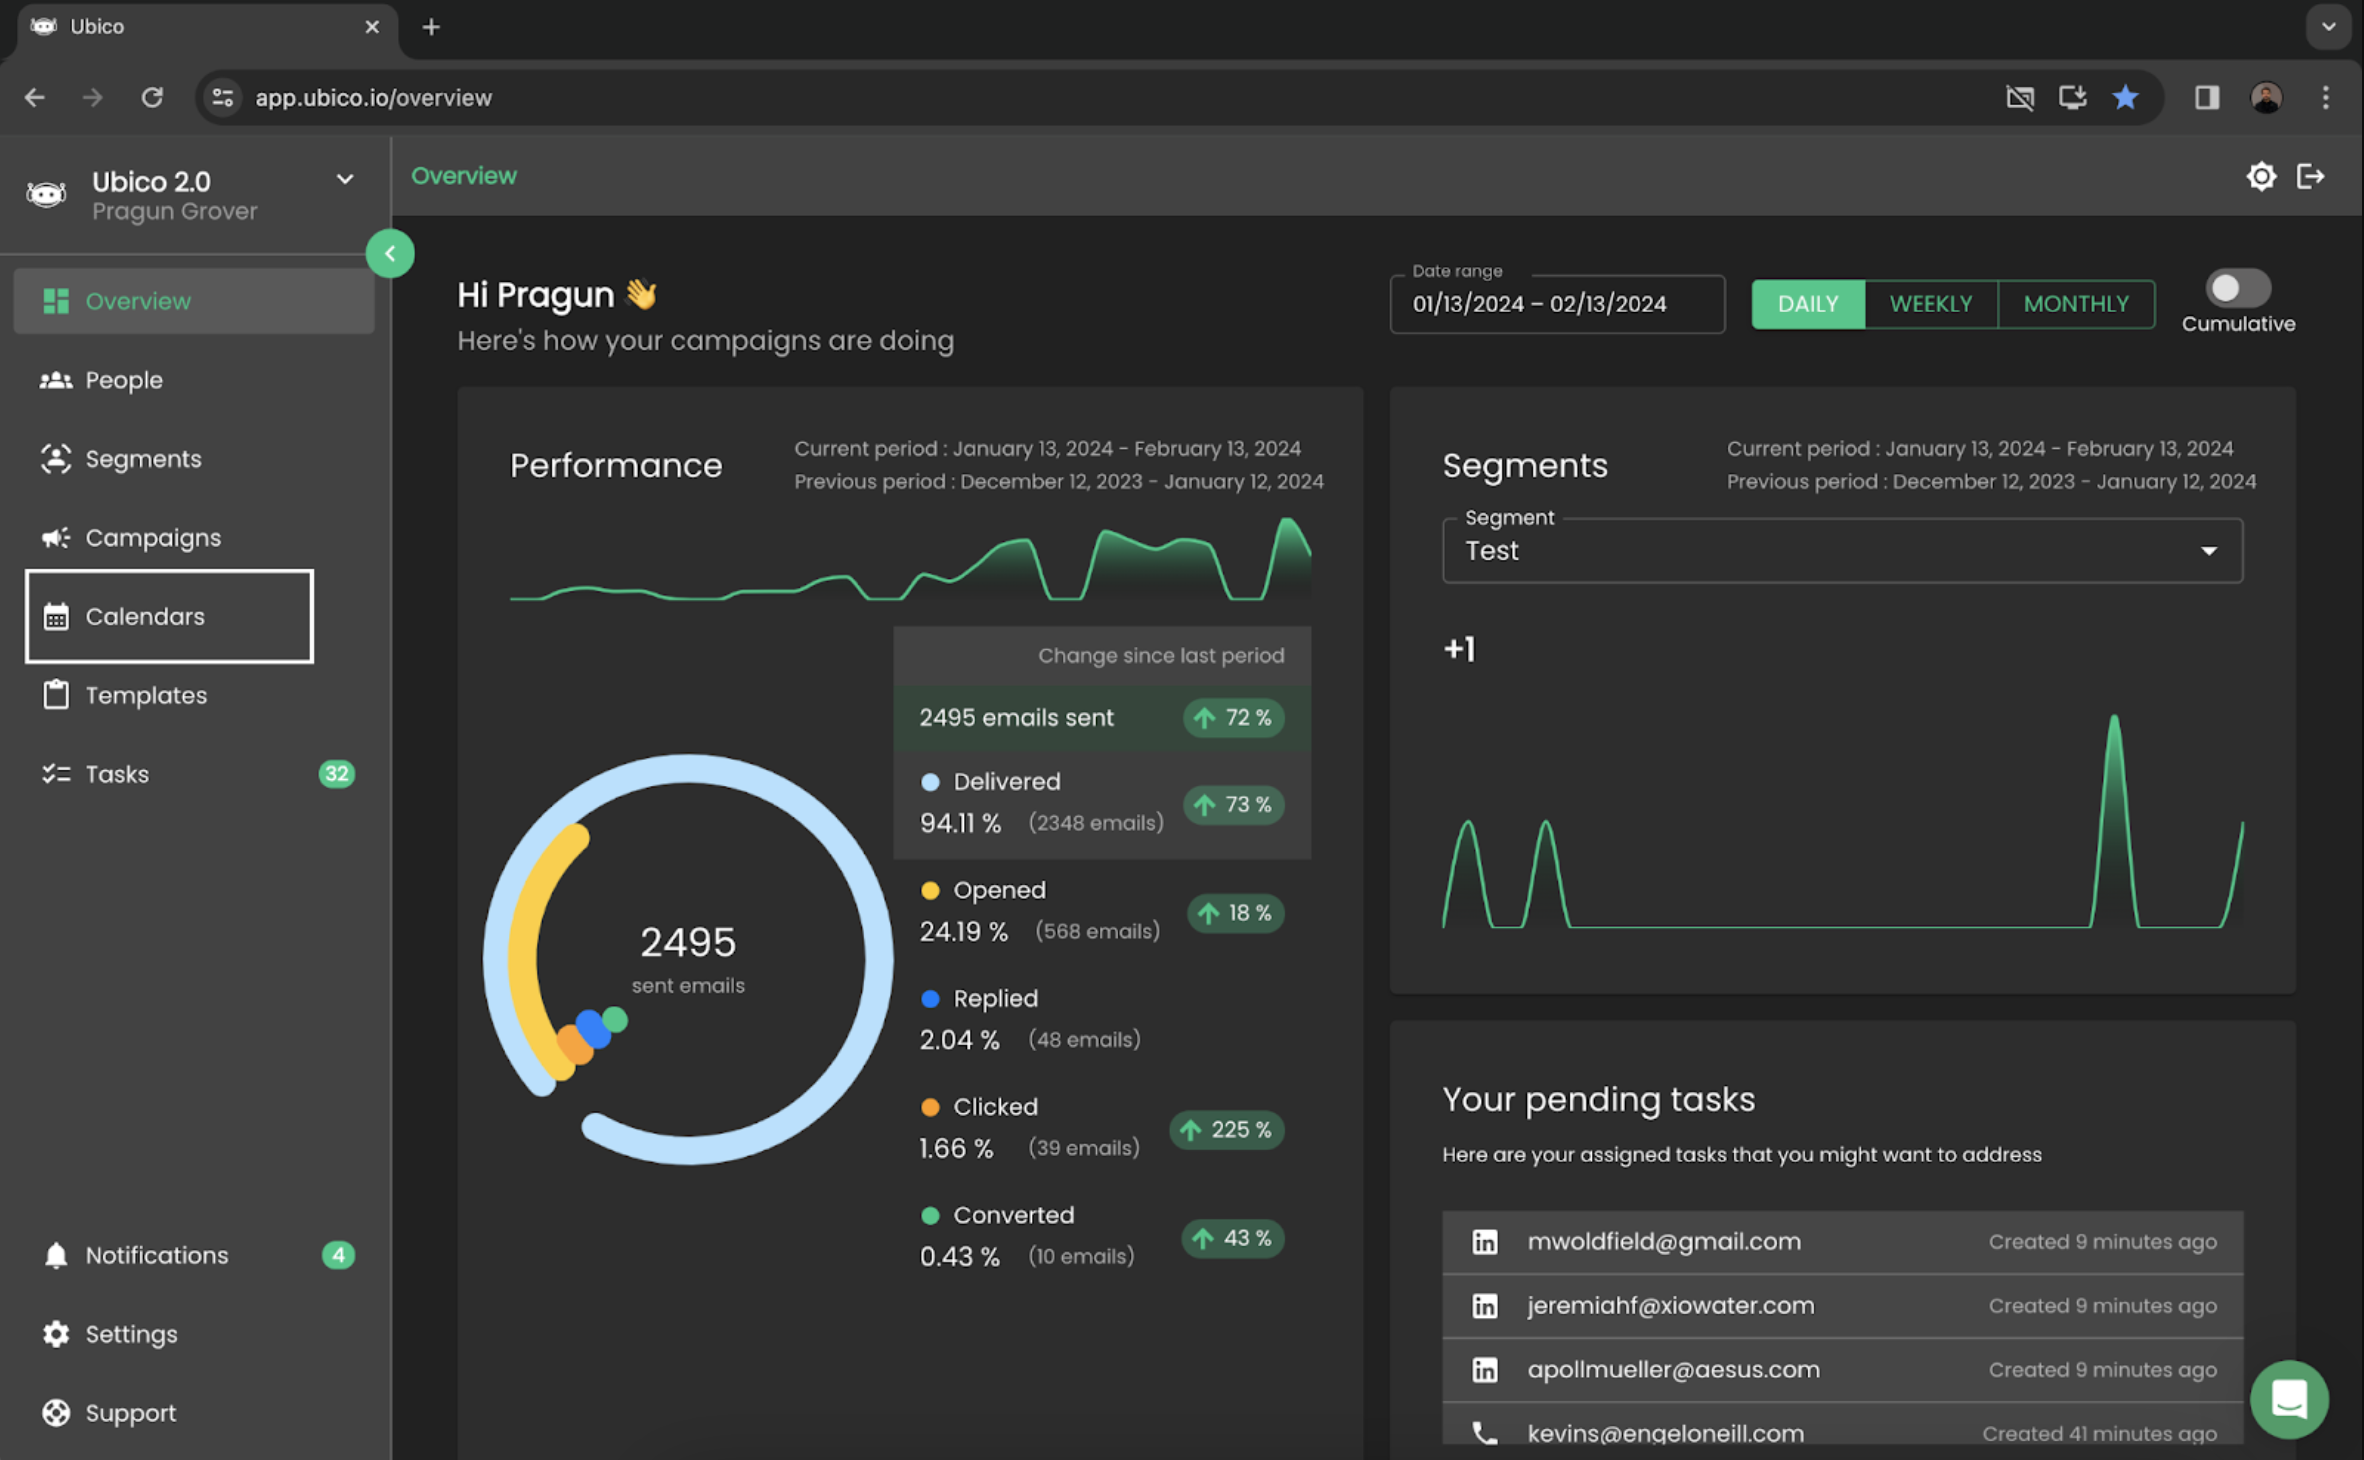
On the left side of your screen, you’ll see a bunch of options. Look for ‘Calendars’ and click on it. This is where you’ll manage all things schedule-wise.
Once you’re on the Calendars page, you’ll see all the calendars your organization has set up. It’s a great way to see everything at a glance.
Notice the button on the right-hand corner that says ‘Create Calendar’? Click that to start.
Now you’re in the setup zone. Here, you’ll give your calendar a name, decide on a slug (that’s the bit that will show up in your invites), and connect it to an email account. This bit is crucial because it ties everything together.
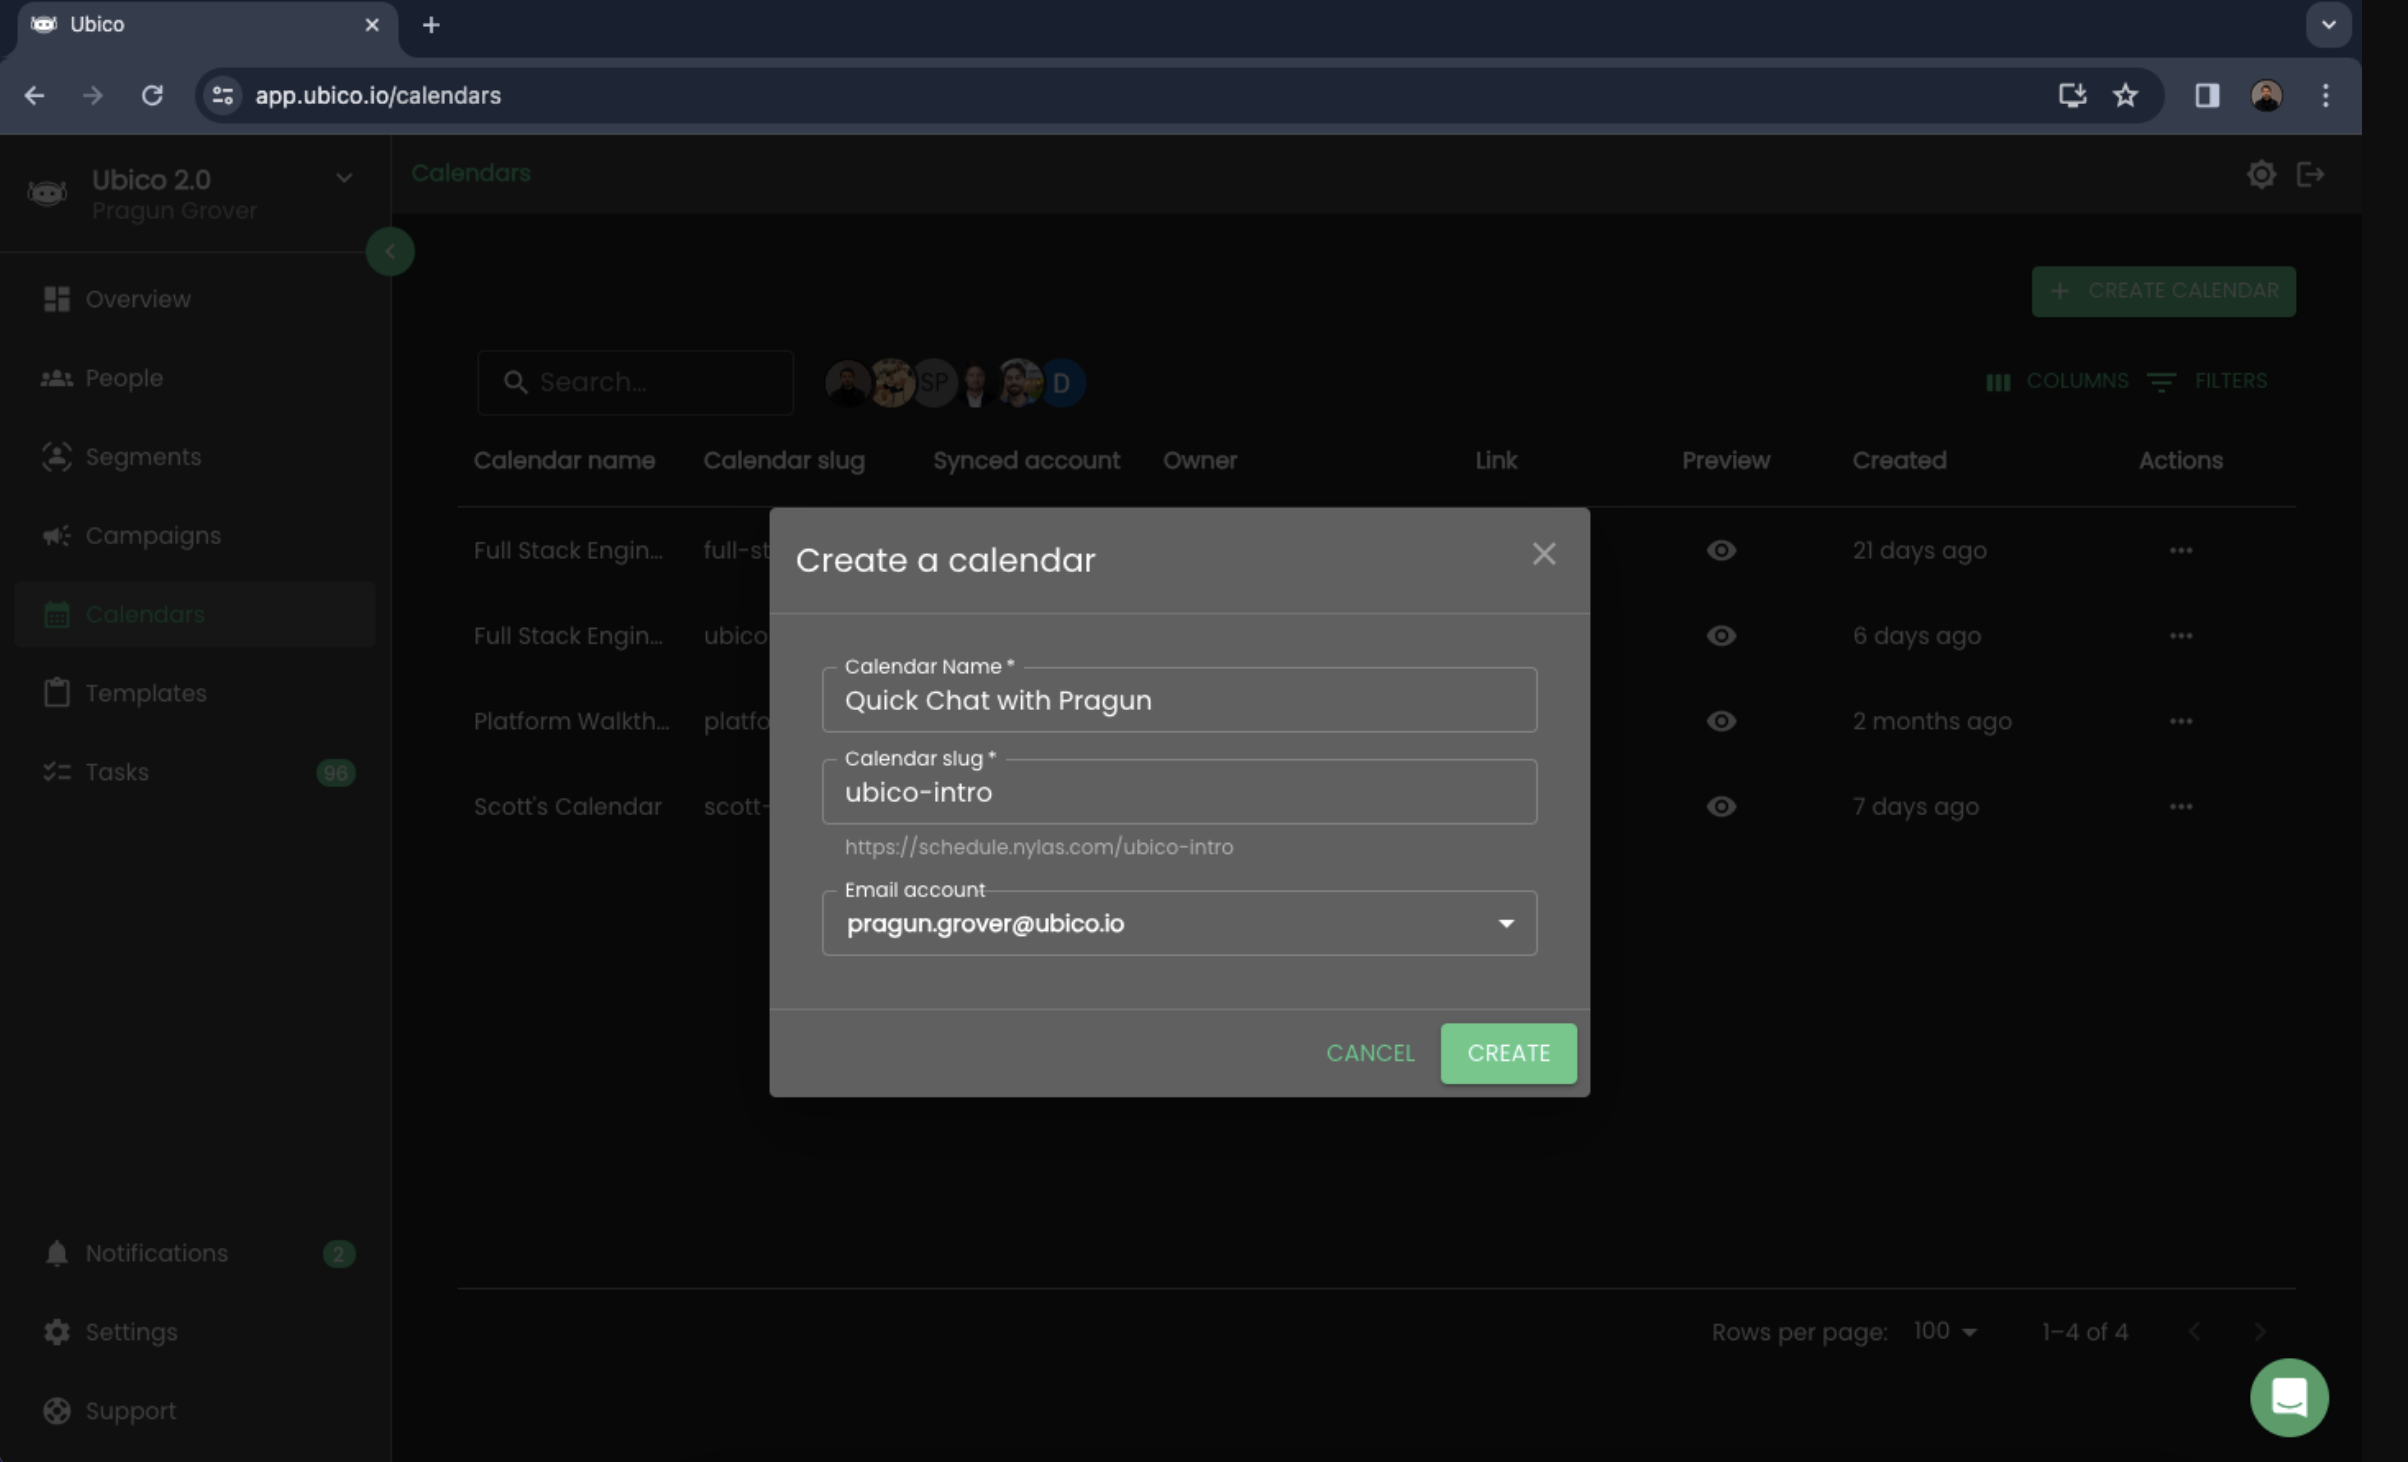
By setting this up, you’ve essentially created a new scheduling page. This is where people can see when you’re available and book a chat with you.
Got the basics down? Great! Now, hit the ‘Edit’ button to start customizing your calendar page. This is where you can make it truly yours, adjusting it to fit just what you need, whether it’s the look, the available times, or how meetings are booked.
