Ubico lets you send newsletters directly from the platform. Before your first send, you need to verify a sending domain so inbox providers trust your emails.
Step 1: Create your newsletter domain
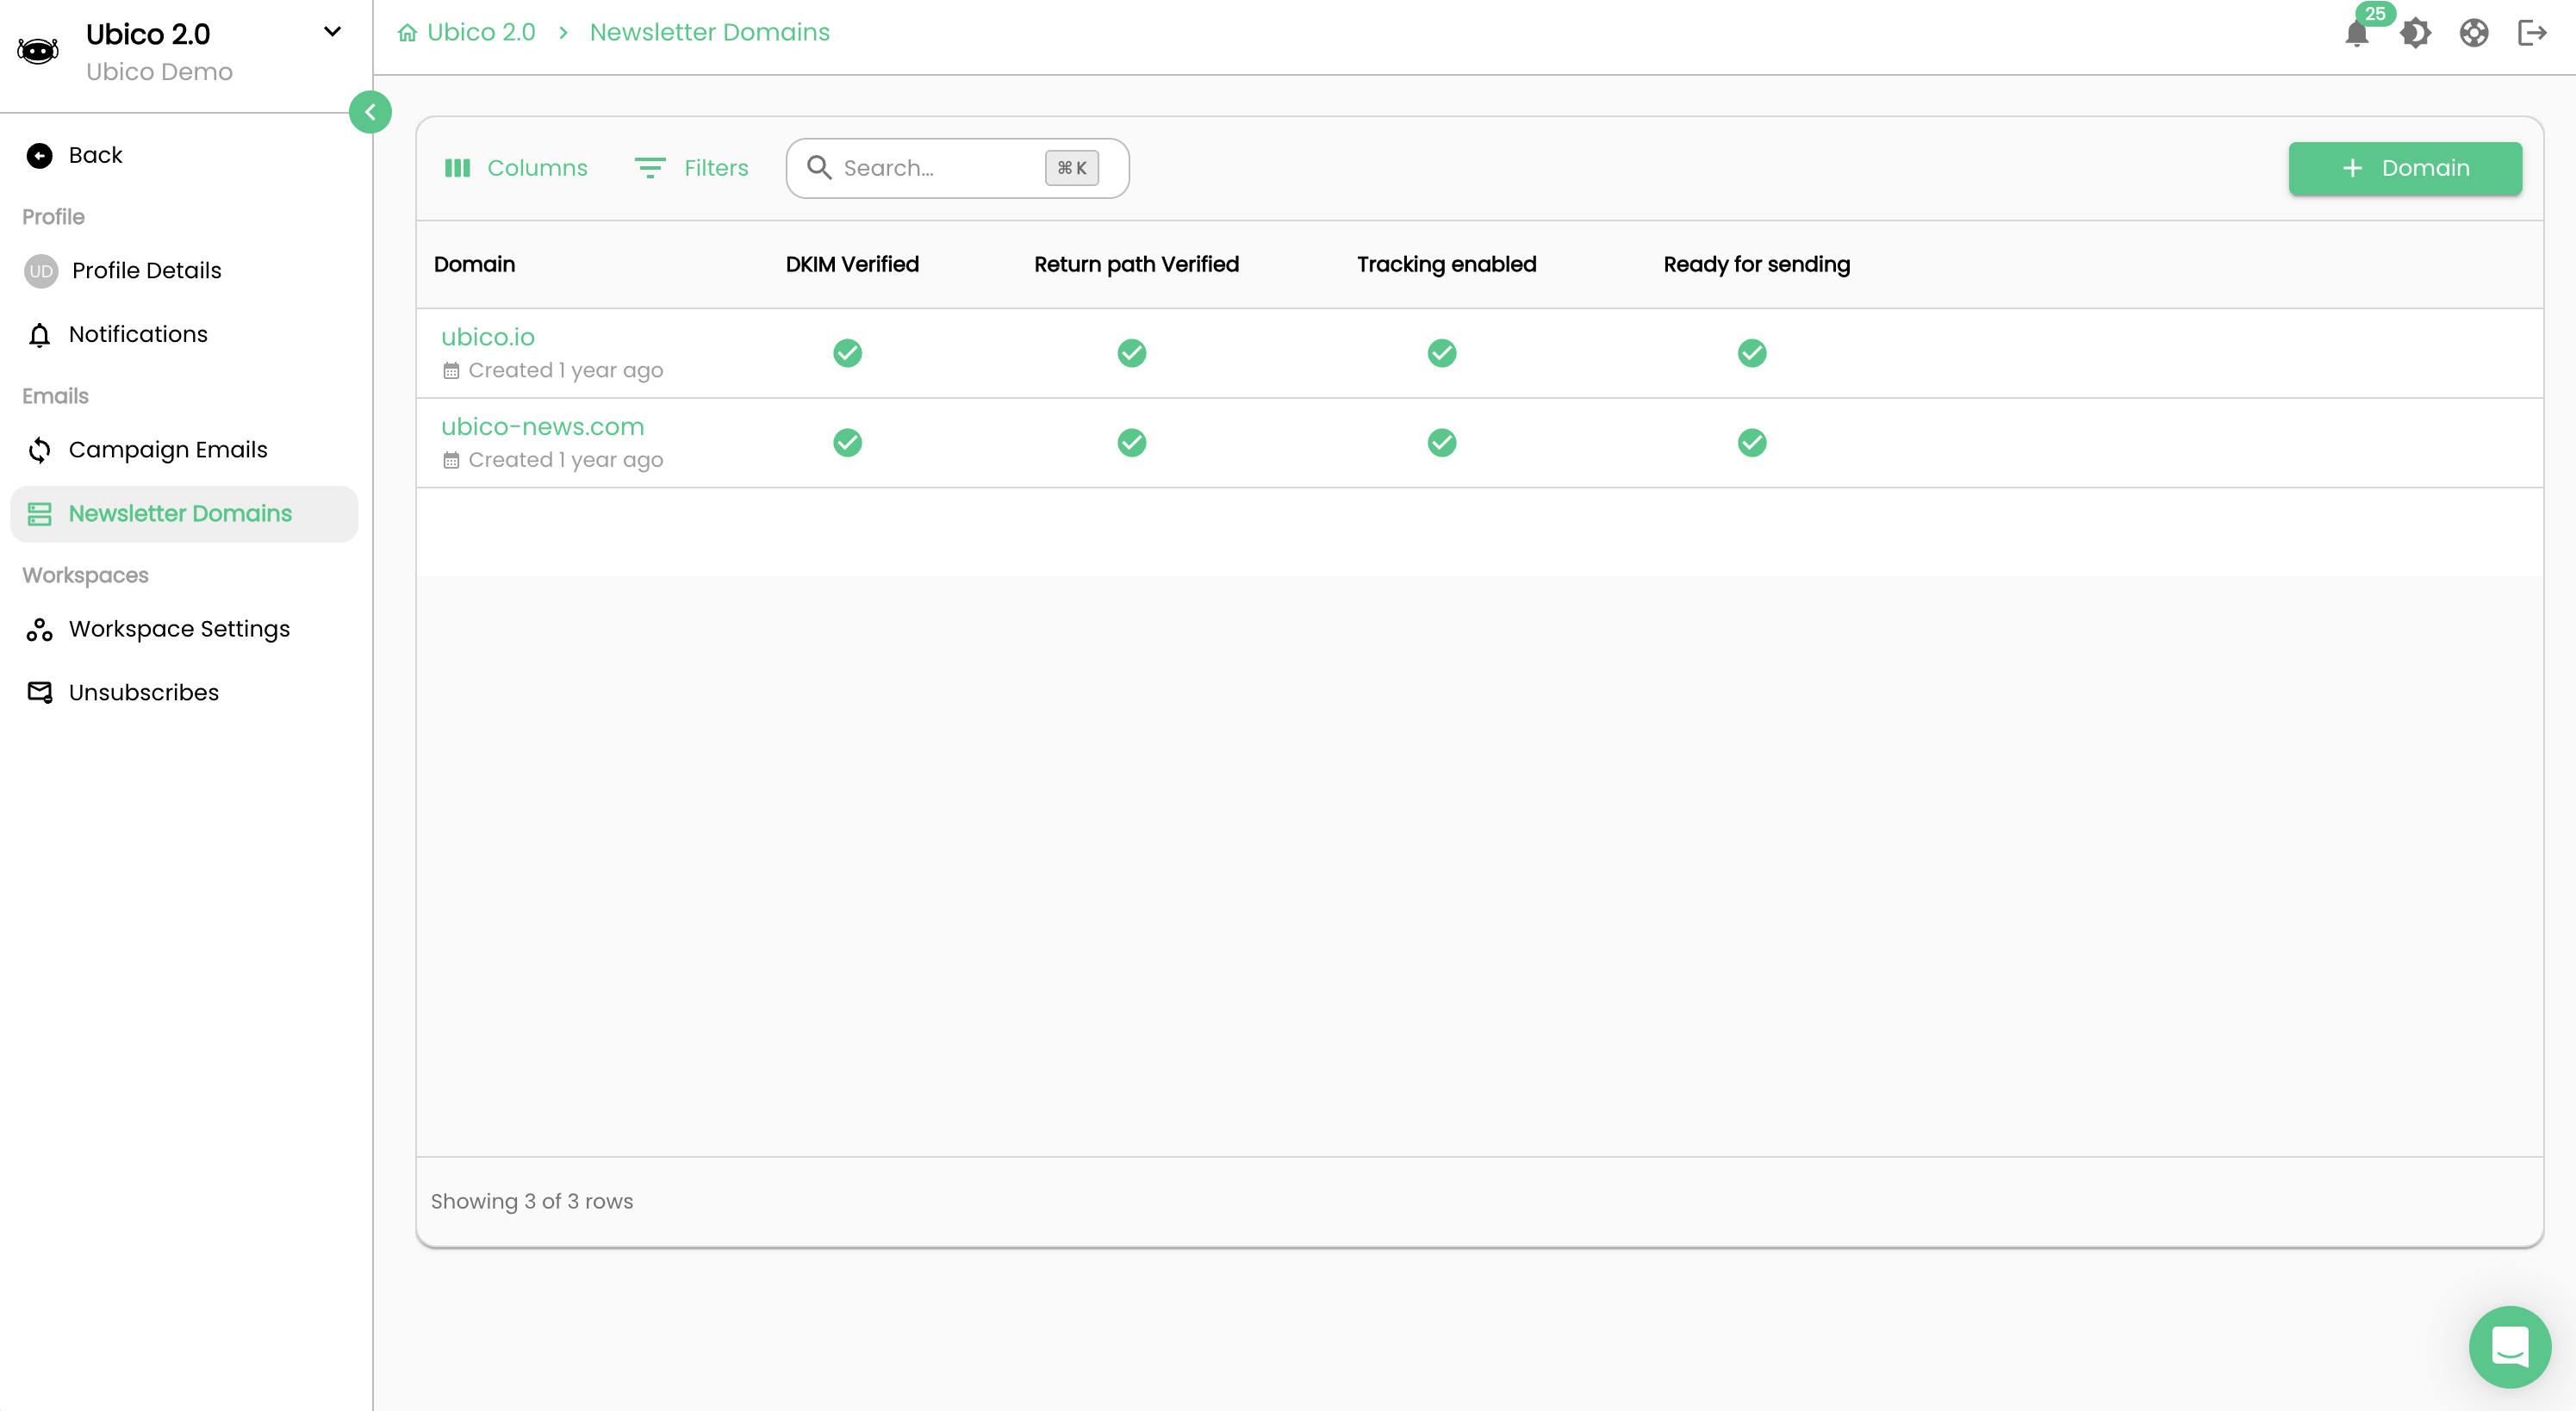
- Go to Settings → Newsletter Domains → Create Domain.
Step 2: Add DNS records
- In your DNS provider, add a new CNAME record:
- Hostname: pm_bounces
- Value: pm.mtasv.net
- Generate a DKIM record from your email provider. Each provider you send from needs its own DKIM record. Add it to your DNS as a TXT record.
Step 3: Complete setup in Ubico
- In Ubico, enter your domain details, return path, and unsubscribe email.
- Click Create Domain. Your newsletter domain is now verified and ready to use.
If you are unsure how to generate a DKIM record, contact your email provider's support team — each provider has different steps.